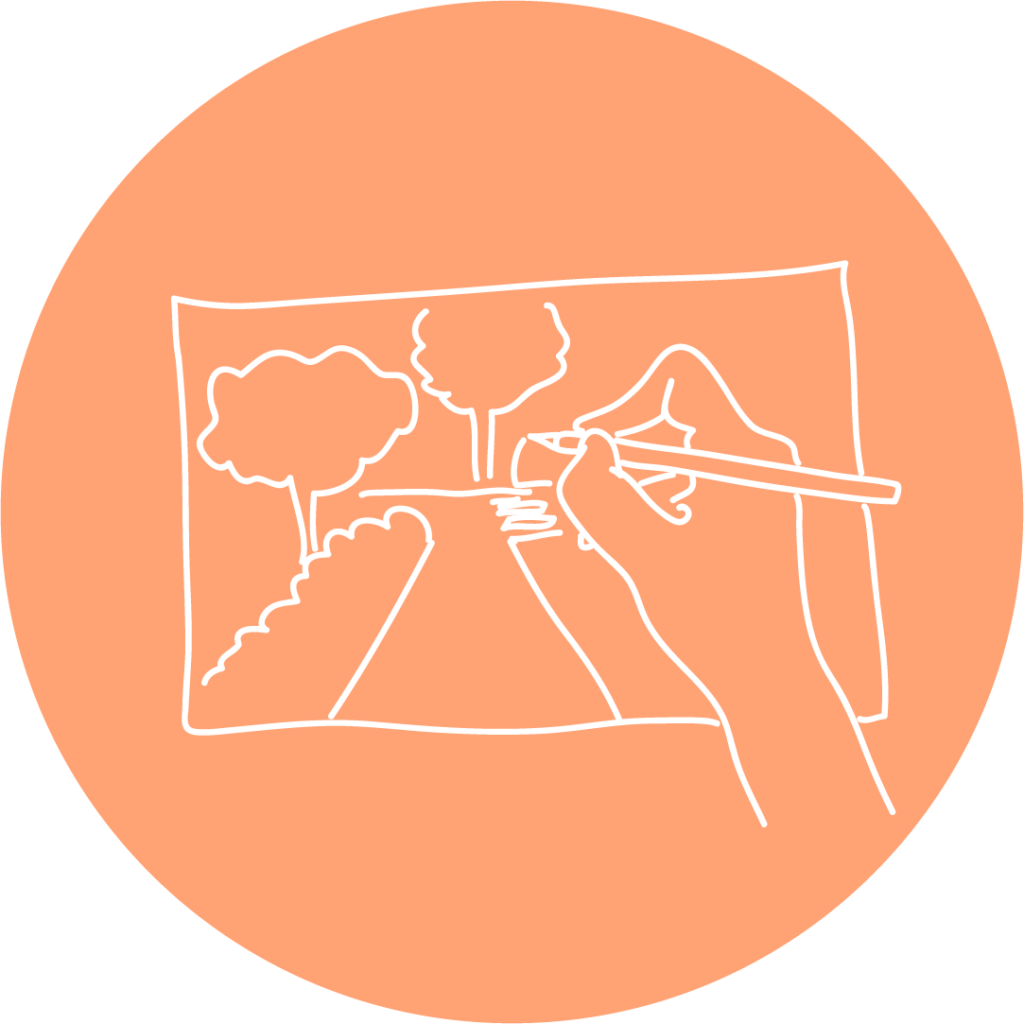
Home / SKETCHING ON PHOTO
Recommended age: 5 – 18 years
Location: Indoor
Duration: 45-60 minutes
Materials/tools: Photos taken at the specific location and pens
Purpose: Reimagining a place
Where in the process: Vision and concept

This method is useful for visualizing how changes at a location might look. For instance, it helps to imagine how the place would appear when adding or removing objects. It also facilitates discussions about a place when it’s not possible to be at the specific place.
Set the premises:
Introducing the large photos, it is now time to get creative. Carefully explain the setup—what are you going to do? How will you divide the group? Will they work individually or in small groups? What do you want the children to think about?
Distribute pens and get started! While everyone draws, engage them in conversations about their drawings, ask how they could implement their ideas, and why those changes would be beneficial.
Afterward:
Collect all the photos and compile the ideas. If using an image editing software, incorporate the children’s ideas clearly and as close to their original concepts as possible. Use verbal and visual input from the children.
Are you going to meet the group again? Then the compiled material is perfect to bring to your next meeting, showing them how the place would look if their ideas would be implemented. Also, it is a very good way of gathering feedback to see that you have correctly understood their thoughts and ideas.
Plan ahead: prepare how you will organize the session. Will each object have a designated color, or can everyone use any color? Depending on what you want to emphasize, it is good to plan how the drawing will be carried out. Also remember that not everyone isbe comfortable drawing. Help them draw, write, or even use cutouts from magazines if needed.
Can this method be used independently? Yes. This method is useful, especially when physically visiting the location isn’t a possibility. It allows viewing the place from different perspectives and encourages seeing it in a new light. By removing existing elements, new uses and opportunities become clearer.
Give each child a different color pen. This helps distinguish various ideas when multiple children draw on the same photo. Assign colors for different objects, e.g., green for plants, red for roads. Promote inclusivity: if someone doesn’t want to draw, they can write or use magazine cutouts.
We use cookies to give you the best experience on our website. If you continue to use this website, you agree to the use of cookies.
Vi använder cookies för att ge dig den bästa upplevelsen på vår hemsida. Om du fortsätter att använda den här webbplatsen godkänner du detta.