Home / PROTOTYPE WORKSHOP
Recommended age: 5 – 18 years
Place:At workshop or outdoors
Time required: 1-2 hours per occasion, 2 to 10 meetings depending on the level of ambition
Material/tools: Depending on the nature of the prototype; hand tools and materials
Purpose: Showcase children’s visions on a real scale
Where in the process: After Pre-study and Vision and concept phase

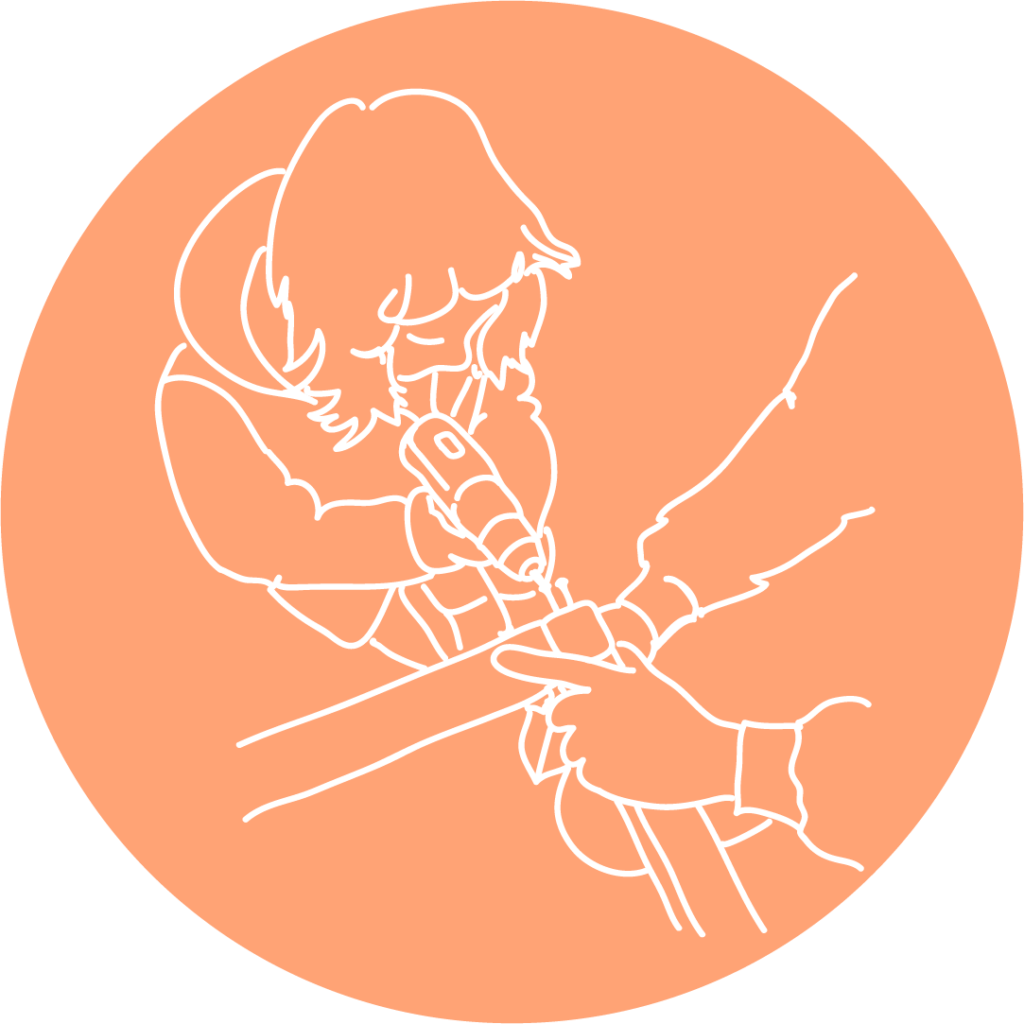
Building full-scale prototypes together with children is an ambitious but very meaningful approach, both from the children’s and adults’ perspective. Prototyping is based on quick interventions with quick results, which makes sense because children get to experience a direct result – something that is otherwise missing in slow urban development processes.
In Gatulabba we have prototyped child-friendly streets. The children have reimagined streets – from being for cars, to prioritising children. What would they look like? The children have created solutions on how the streets could be more child-friendly and then we have built prototypes of these ideas. Full scale and placed on the street.
An important ingredient of this method is its finale: the children get to celebrate their finished prototypes through a street party, to which politicians are invited, so that the children themselves can convey their thoughts and ideas to those in power. There are two points to this: the children have had time to work on the issue for a long time and therefore come up with well thought-out ideas and arguments, and the potential of the children’s ideas is much easier to understand because full-scale prototypes are perceived as clearer and stronger than the hand-drawn drawings children are usually asked to show.
Depending on the nature of the prototype. We have used cut-off saws, hand saws and screwdrivers for all children. Nails, screws and bits. Clamps and timber, paint, sandpaper and files. A blueprint is good to have – ask a carpenter for help if needed. This method may require many adults to help with the tools and keep track of measurements.
First session: carpentry school
For children to learn how to do carpentry, the first session is a carpentry school. This is described on this link.
Second session onwards: manned building stations
Now it’s time to build the children’s ideas! Look at the building plan, list everything that needs to be done and divide by the number of sessions/time you have.
Sawing 15 joists can be tiring, so prepare several stations with different steps to give the children some variety. More tips under Things to think about.
When this stage begins, it is important to bear some things in mind:
WORKSHOP SPACE
If you don’t have access to a workshop, you can create a space using containers, where tools, materials and prototypes can be stored. Containers are available for hire and can be placed in a suitable location near the children. Placing containers usually requires a police licence, permission from the landowner and possibly planning permission – check with your local authority.
CARPENTER?
How long will it take to build the prototypes? If the ideas are advanced, it might be a good idea to ask a carpenter for help. In Gatulabba we have employed a carpenter during the prototyping workshops, who has handled the more complicated stages.
CONSTRUCTION DRAWINGS
In order to calculate material requirements and plan the construction, an important step is to turn the concept sketches into construction drawings. How you do this depends on your level of ambition. There are different ways to do this, ranging from downloading similar designs from the internet, e.g. from instructables.com, to drawing them yourself, to drawing the designs together with the landscape architect and carpenter in drawing programmes.
For younger children, a drawing may be too abstract to grasp. To make it easier to communicate what is to be built, it is a good idea to make a small model of the large prototype and present it before the construction process starts. The model can then be returned to at each meeting and show which part is being built on this occasion.
MATERIAL
The material to use depends on the design. Important to consider is: is the prototype going to be outdoors and last for a long time? Then the material needs to withstand the weather. If it’s a prototype that will be climbed on, you need to think about stability and strength. Choose the appropriate material based on the design and the location of the prototype. Think circularly as far as possible. For example, can you ask for surplus timber from a construction company or discarded timber from DIY stores?
WORKSTATIONS & SNACK STATION
Each group will probably need a workstation to saw and screw on. Workstations can easily be built from pallets in a pile, with an OSB- board screwed on. It can also be useful to create some kind of gathering place, where the children can have a snack break and where you can have a start-up and closing meeting.
PLACEMENT OF PROTOTYPES
Where should the finished prototypes be placed? How long will they be there? If they are to be placed on municipal land, you will usually need to apply for a permit.
SAFETY RULES
If you want references for dimensions from a safety perspective, check your country’s standard safety measurements. In Sweden we use the Swedish standard for playground equipment.
PREPARING THE MEETINGS
If there are several prototypes to be built, divide the children into groups. Preferably a maximum of four children per adult.
Prototyping is the end of a longer process, where the prototypes realise the ideas that have emerged earlier in the process. If possible, end the building process with a street party where children have the opportunity to showcase their ideas.
We use cookies to give you the best experience on our website. If you continue to use this website, you agree to the use of cookies.
Vi använder cookies för att ge dig den bästa upplevelsen på vår hemsida. Om du fortsätter att använda den här webbplatsen godkänner du detta.