Home / Iterative sketching
Recommended age: 5-18 years
Location: Indoors and outdoors
Time required: 1 hour per session, over two to four sessions
Materials/tools: Paper and coloured pencils.
Purpose: To work out a sketch everyone can stand behind
Where in the process: Vision & concept phase

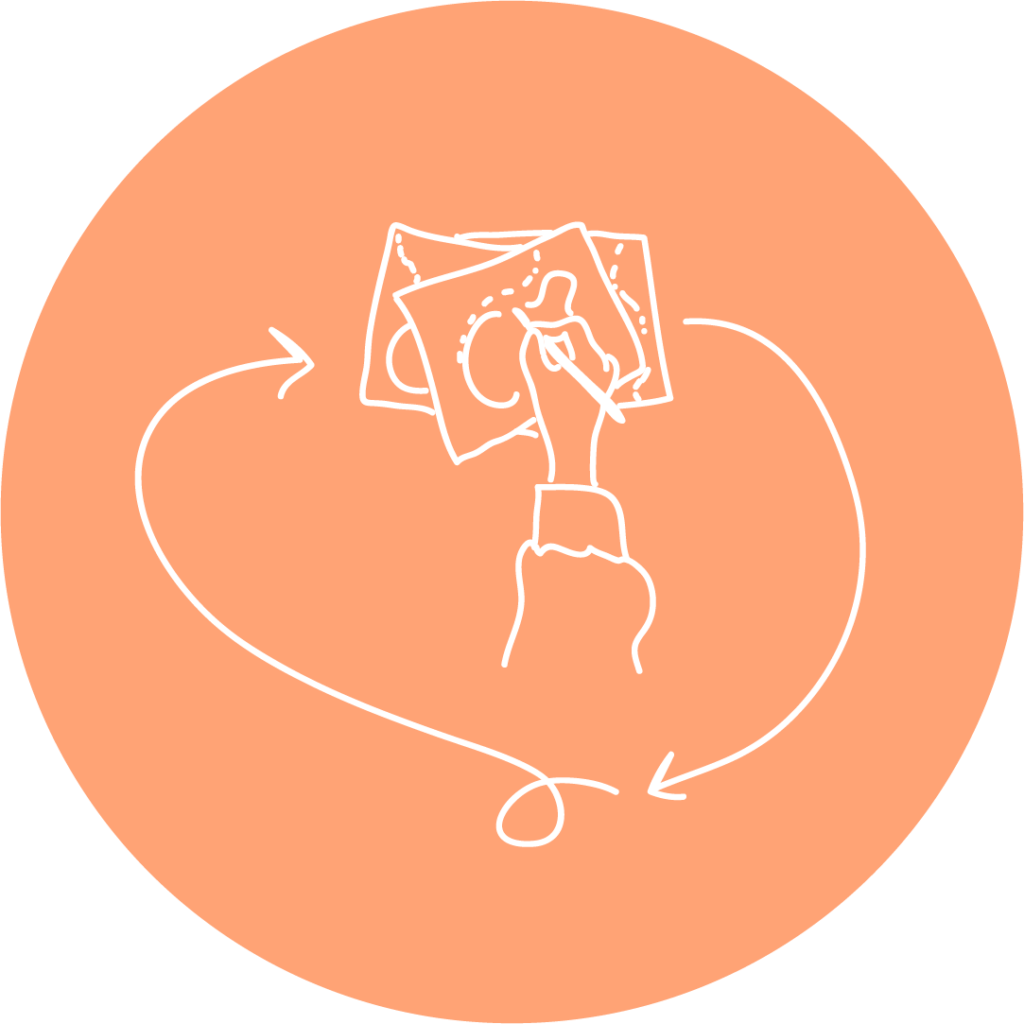
Iterative design process is a democratic co-creation method based on interaction. Children make sketches of ideas that you then reinterpret and build on. The children then look at your idea sketch, based on all the children’s sketches, and draw their amendments on it, to comment on and develop your first idea sketch. You then repeat the process by producing a new sketch based on the children’s comments and additions. This is how the process continues until you have a final co-created concept!
Is the topic open-ended or do you need to define what the children will sketch? Is it about designing a seat, designing part of a street, designing new street lamps or something completely different?
First meeting
The iterative sketching process starts when you have reached the vision and concept phase, i.e. when you have agreed on a problem you want to solve, looked for inspiration, analysed problems and possible solutions, this is the time to start thinking about how. In this activity, everyone draws sketches of their ideas. The children then take turns to show their sketches and explain their ideas.
When the children present their drawing, you go through each person’s thinking and what is important to them in the design. They get to explain their idea, which helps the group to see different solutions and ways to take the design forward together. At its best, this leads to a nuanced discussion about the pros and cons.
Between meetings
You, as the leader, take all the ideas and other input gathered to sketch out an overall solution for the next meeting.
Second meeting
In the second session, everyone gets to draw changes to the leader’s copied drawing proposal, one copy per child. At the end, the children vote on which amendment they like, and hopefully there will be interesting discussions to draw on.
Between sessions
Again, gather all the copies with their new amendments and work through it. This time you try to go deeper into the details. How should it be built? Produce a final proposal (or run the process several times) that shows a fully co-created idea.
Third meeting
The third meeting is to show the final sketch and evaluate the consensus. Imagine that you have created a concept together!
If you realise that voting is a method that won’t work in the group, you can instead, for example, do plucking (link to Plucking) or choose to have an open discussion.
If the children can’t or don’t want to draw themselves, you can draw together. This can work well with the youngest children. The sketching becomes a dialogue – the leader draws while the children say what to draw.
This method is useful when the problem area has been defined and inspiration has started to emerge. It needs to be preceded by some kind of preliminary study.
Actively participate in the sketching so you can hear what the children are thinking about and how they are thinking. This will help you when you come to summarise all the ideas.
We use cookies to give you the best experience on our website. If you continue to use this website, you agree to the use of cookies.
Vi använder cookies för att ge dig den bästa upplevelsen på vår hemsida. Om du fortsätter att använda den här webbplatsen godkänner du detta.